 |
It may well be that you have been a hill walker and have a set of walking poles by your coat rack. Now you are being advised by a Medic to use a crutch or walking stick to assist with your balance. You might get away with the walking poles but if a more conventional stick appears to be needed then please read our advice first.
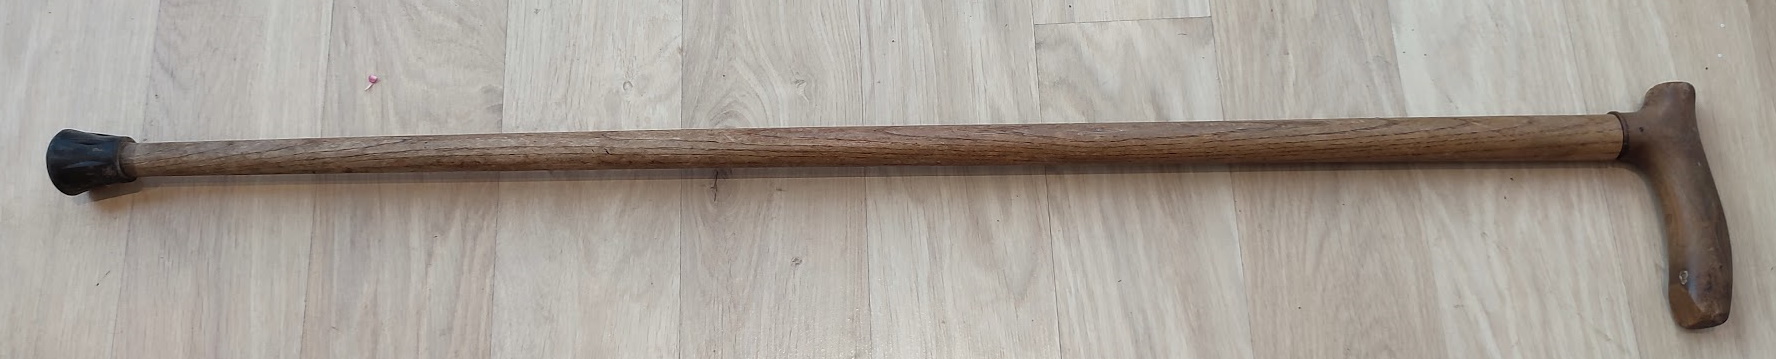 |
Over the years we have purchased and used a number of walking sticks. Some have been beautifully crafted art objects, and others more traditional and utilitarian. In all cases they have had rubber ferrules at the 'ground' end and at the other are no thicker than a fat sausage and perhaps curved or possibly flat. That has always been the weakness of this sort of stick, The ferrule is normally about the size of a 10p coin (25mm diameter) and is most secure when the user manages to place the stick vertically so that the whole of the face of the ferrule is on contact with the ground. However, that 'perfect' position is rarely achieved and the stick is more likely to be placed at an angle. That immediately means that the amount of rubber in contact with the ground is reduced, possibly significantly. Such a small level of contact makes the weight per square centimeter quite high and thus there is plenty of energy to overcome the friction of the surface. Thus the tip of the stick slipping away becomes likely and the user could be in the position of being unexpectedly dumped on the ground. Not a good output.
Unfortunately, that is not the whole of the problem. The round 'sausage' handle can relatively easily 'swing' in the users' hand unless they have an iron grip which, for comfortable walking, will not be the case. Thus there is the unstable ferrule and and the easily swung handle end and the traditional stick as a walking aid begins to look rather unsatisfactory. There is, however, an answer to both problems.
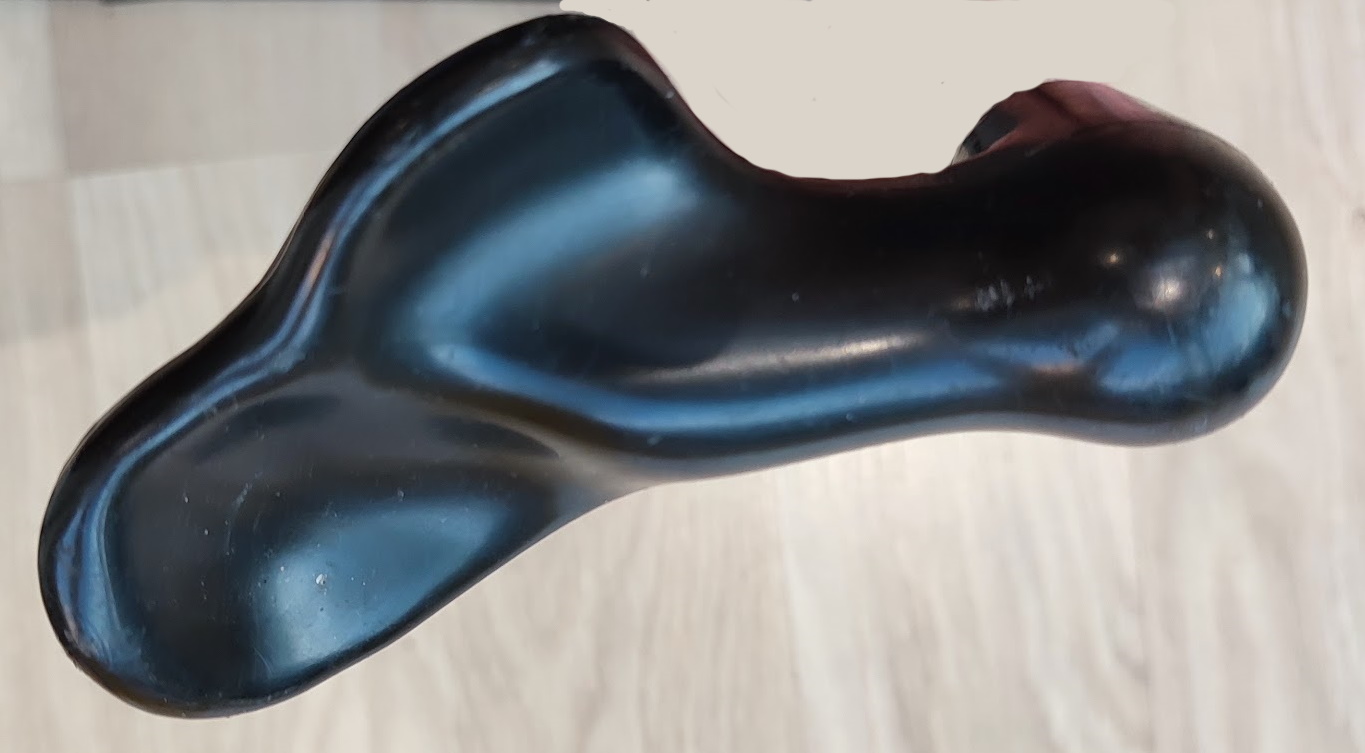
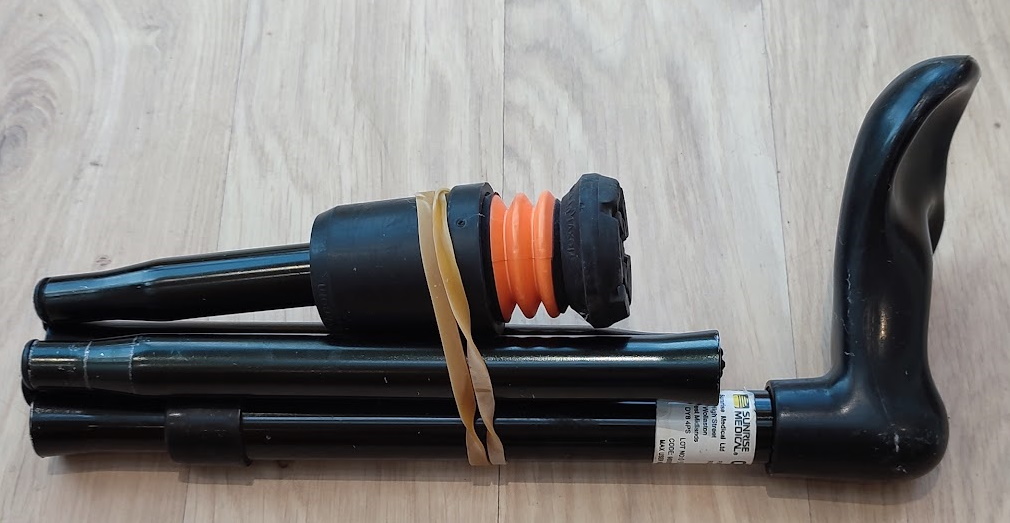
Taking firstly the grip issue, the solution was invented by an Austrian arthritis specialist, Dr. Fischer. His handle design fits the whole of the hand comfortably and removes the chance of 'swing'. Happily the Fischer handle is now widely available and can be specified for NHS provided sticks. The only disadvantage is that they are 'handed' in that there is a right hand shape and a left hand shape which means sticks are not interchangeable. They are also 'welded' to their stick so it is not possible to upgrade and old stick. Re-map (https://remap.org.uk/solutions/walking-stick-fischer-handle/) have managed to do that with aluminium tube sticks but wooden ones are apparently not suitable.
Given that those of us who do cycling otherwise tend to be out an about on various types of wheels there is the issue of how to take the stick with you. That is simply solved as there are Fischer handled folding sticks. They are usually in four pieces and held together with elastic rope of the sort found on bungee straps. When disassembled and folded with a rubber band keeping the fold together the package is not much larger than a bag of sugar. That can happily live in a pannier on your machine or a rucsack.
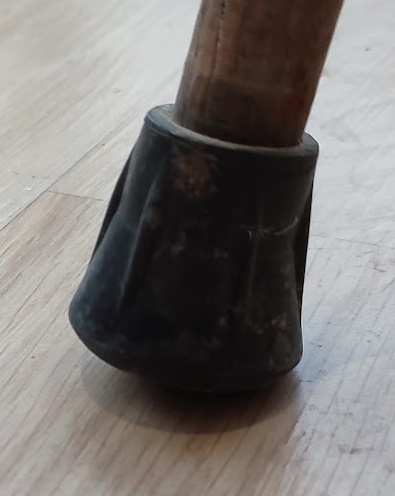
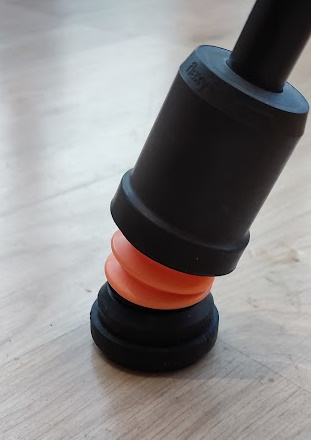
Now let us look at the issue of the sliding ferrule. Happily there is a simple solution for that too. It is a product known as the FlexyFoot ferrule. This was invented by an Australian called Van Phillips and came on the market around 1984. Fortunately the product is now widely available and can be fitted to almost any walking stick in place of the traditional rubber ferrule. The product greatly improves the extent to which the ferrule will stay where it is placed because the bottom end is pivoted and thus the contact end always is flat to the ground. Retrofitting one to an existing stick may need the stick to be shortened slightly as the FlexyFoot is a bit longer than most rubber ferrules.
Given that one can fit a Flexyfoot to just about any stick, it soon became obvious that crutches would also benefit from its improved ground holding. Thus most vendors of sticks and crutches should have in their stock walking sticks with Fischer handles and FlexyFoot ferrules as well as crutches with FlexyFoot feet. We are total converts and all the sticks and crutches in this house are FlexyFooted and Fischer Handled. The only exception is the hiking poles which still have their snow spikes and baskets fitted from the last time we had a serious snow dump.
Peter Cuthbert
August 2026
POSTSCRIPT
If you decide to buy a pair of walking sticks and also have or are getting yourself a wheel chair one of the first problems you will hit is that the chair probably has no built in fitting for holding your sticks. We solved this issue by designing a two stick holder in 3D CAD and getting it printed. The picture below shows the stick holder as drawn.
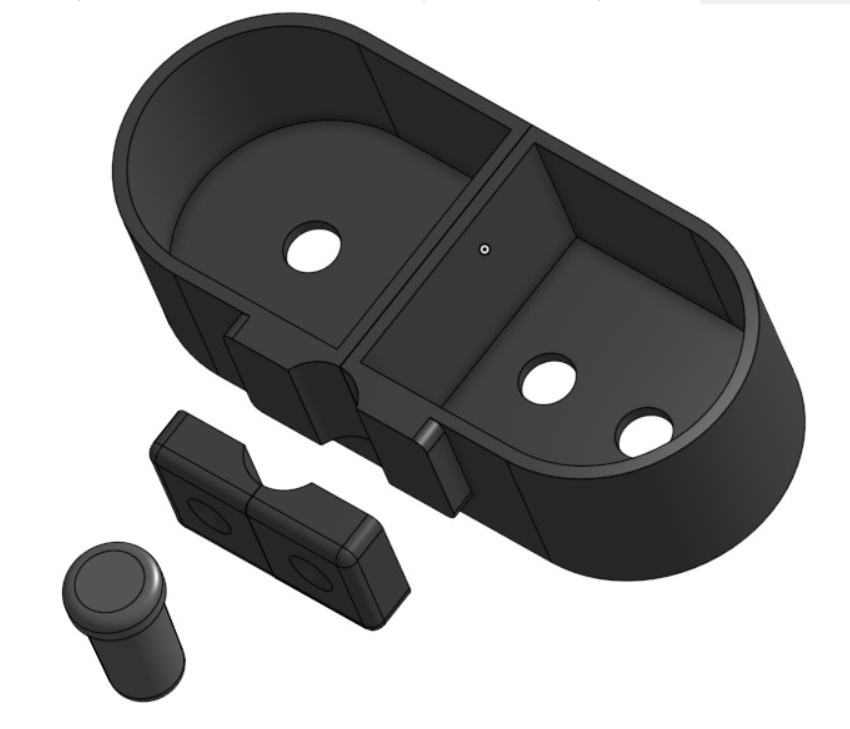 |
For those of you who would like one of these the 3 CAD files (STEP format) are available for download. There are two files; one for the attachment to the wheel chair and the other for the base (see right)
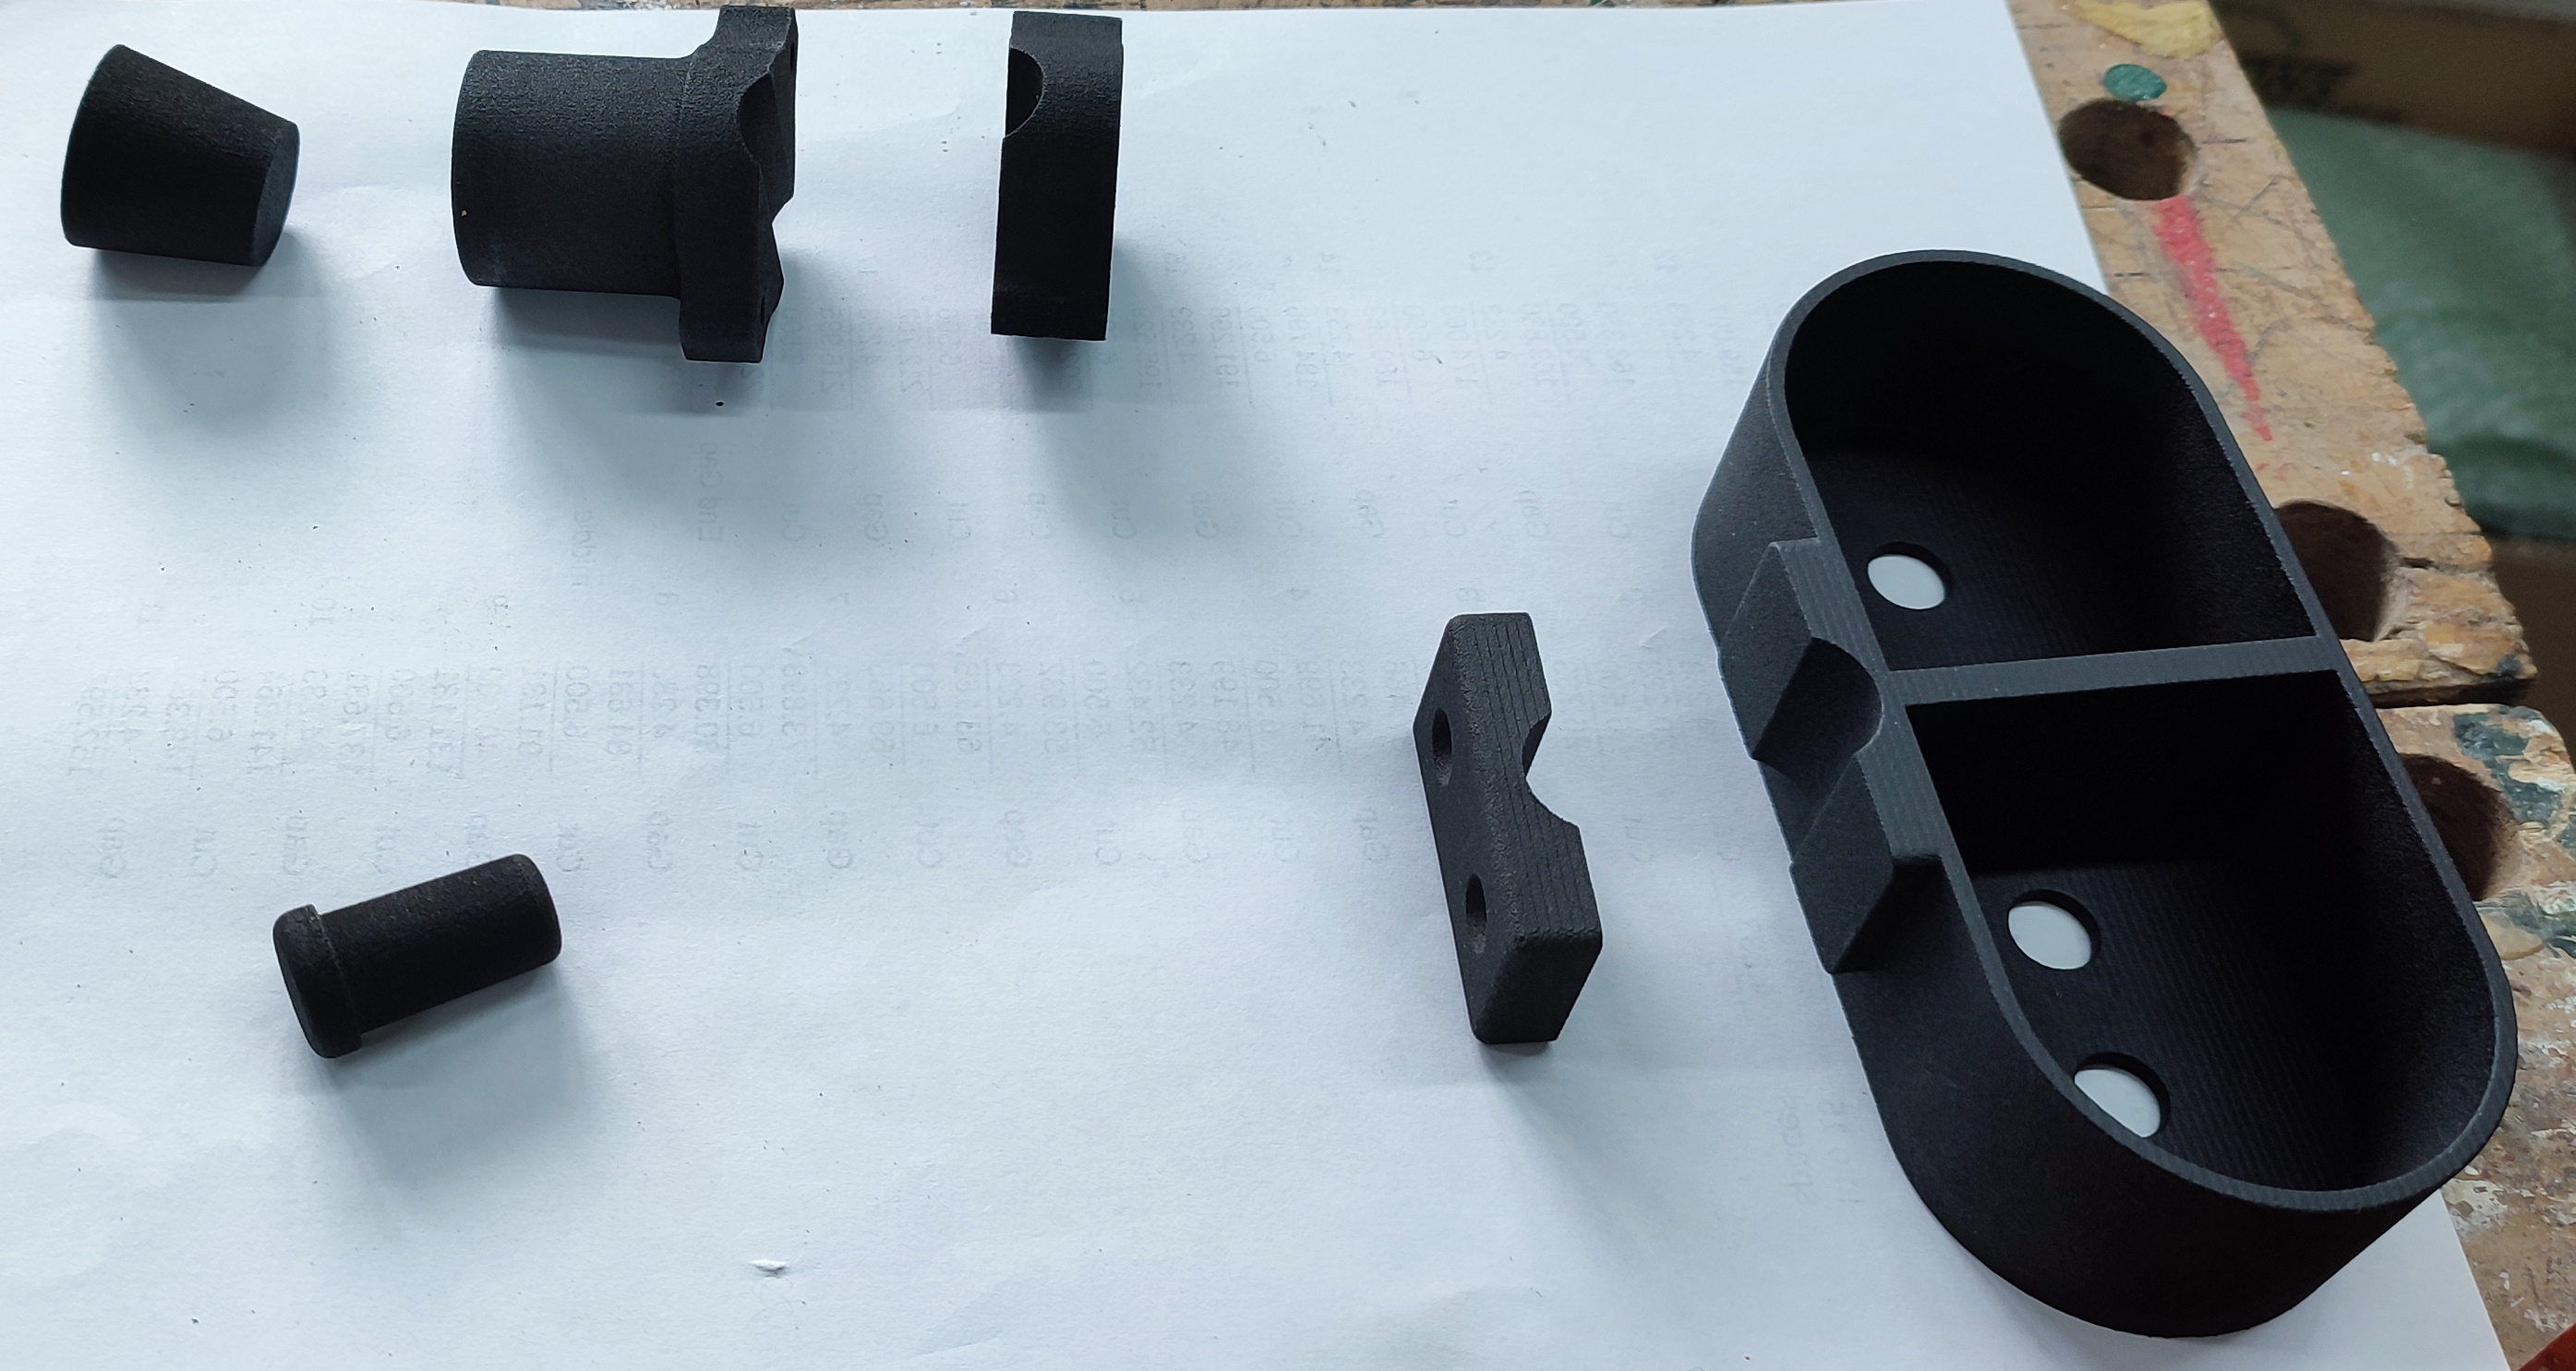
A photo of all the bits is given below. The drawing is based around using a length of 16mm OD tube to connect the two bits together. This was retrieved from a broken folding camping chair. The size of the rod has no significance so simple use what you can easily obtain.
 |
Fitting it all together
To assemble this device you will need a small selection of tools. The task is not difficult but if you know a handy supporter delegating the task to them will be a good idea. They will feel pleased to help and you will avoid the need to get down on your knees. The tools needed are a drill of some sort and a collection of bits. A couple of screwdrivers with straight and cross heads will be used and access to screw tapping tools will be useful. A soft head hammer may also be needed to encourage any part that refuses to fit. Finally a Stanley knife might be useful to trim the 'castings' to fit your machine if the intended 'universal' design turns out not to be quite that for your context.
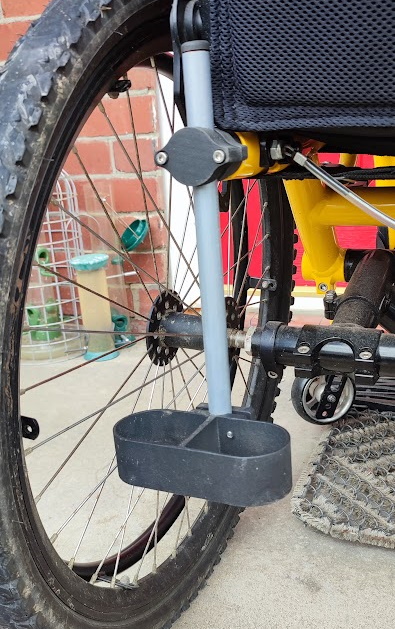 |
The first step is to get the cone and 'T' shaped piece fitted to the bar that supports the seat of the wheel chair. There will probably be a plastic plug closing it off so that will need to be removed. The fitting is secured by a bolt pulling the cone and expanding it. If the diameter of the support tube on you chair is small the cone may not fit. In that case try cutting it to a shorter length from the 'fat' end as that will reduce its diameter.
Fit the bolt through the central hole of the 'T' shaped piece and through the cone and connect the nut. If your casting does not include that hole you will have to drill it out with a bit the same size or a touch larger than your chosen bolt diameter.
Once in position, tighten up the bolt until the T piece appears to be firmly secured. With that done it will be necessary to hold the top piece of the clamp in position and drill the two holes in the piece just fitted. The top piece print out may contain the necessary holes, but the under piece will not. For those two holes drill them out at the tapping size for the bolts you have chosen. The tapping hole size for an M3 screw is 2.5 mm, and for an M4 screw, it is 3.3 mm. Those two holes will need to be tapped with the appropriate sized tapping tool. The capping piece will need to be drilled at 3mm for the M3 bolt or 4mm for the M4 bolt. Given the likely loads on this device the plastic is plenty strong enough to accept a tapping o no back nut is required.
The next task is to attach the clamp for the stick holder base. This will be exactly the same process as in the previous task.
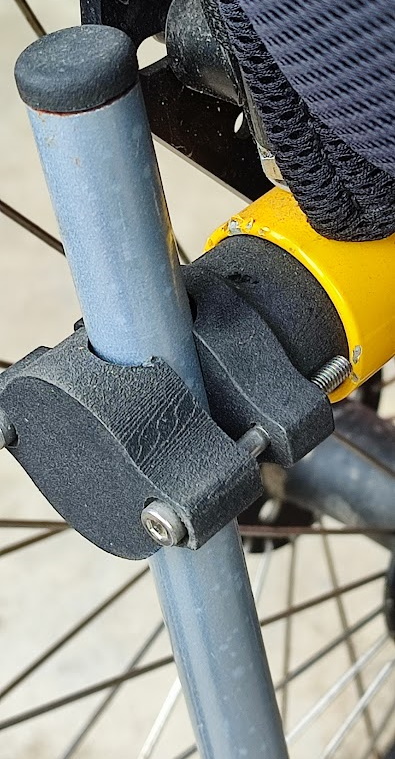 |
The to holes need drilling through both parts at the hole tap size, say 3.3mm and then the clamp piece hole is drilled out to 4mm. The hole in the base is then tapped with an M4 tapping tool.
The length of pipe that will be needed depends upon your particular wheel chair. It does not even have to be steel pipe as a wooden rod would do. If you should lay your hands on some 16mm pipe, then it is probable that the plug included in the print out will do the job shown in the picture right.
The very final step is to make up some tape about 23cm long with Velcro hooks on half of one side and Velcro loops on half the other side. This should be attached to the frame just below the bend for the handle on the same side as the stick holder. A single screw in the centre of the strap is all that is required.
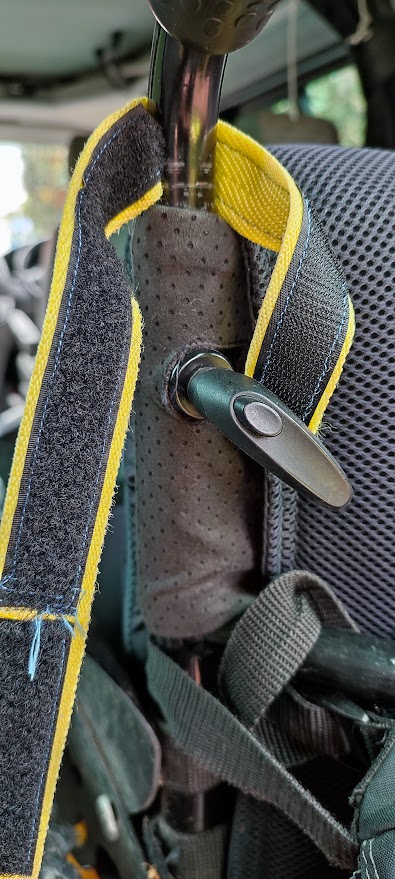 |
It will be noticed that the screw on our chair was not optimally positioned. One can use a self-tapping screw or drill and tap the hole and use a bolt. A washer is worthwhile to give greater attachment to the strap.
 |
 |
 |
 |
The downloads are here: